Set-Up Guide For Windows RADIUS Server 802.1X authentication
Organizations that have a license for any version of Microsoft Windows Servers have access to the Network Policy Server (NPS) tool.
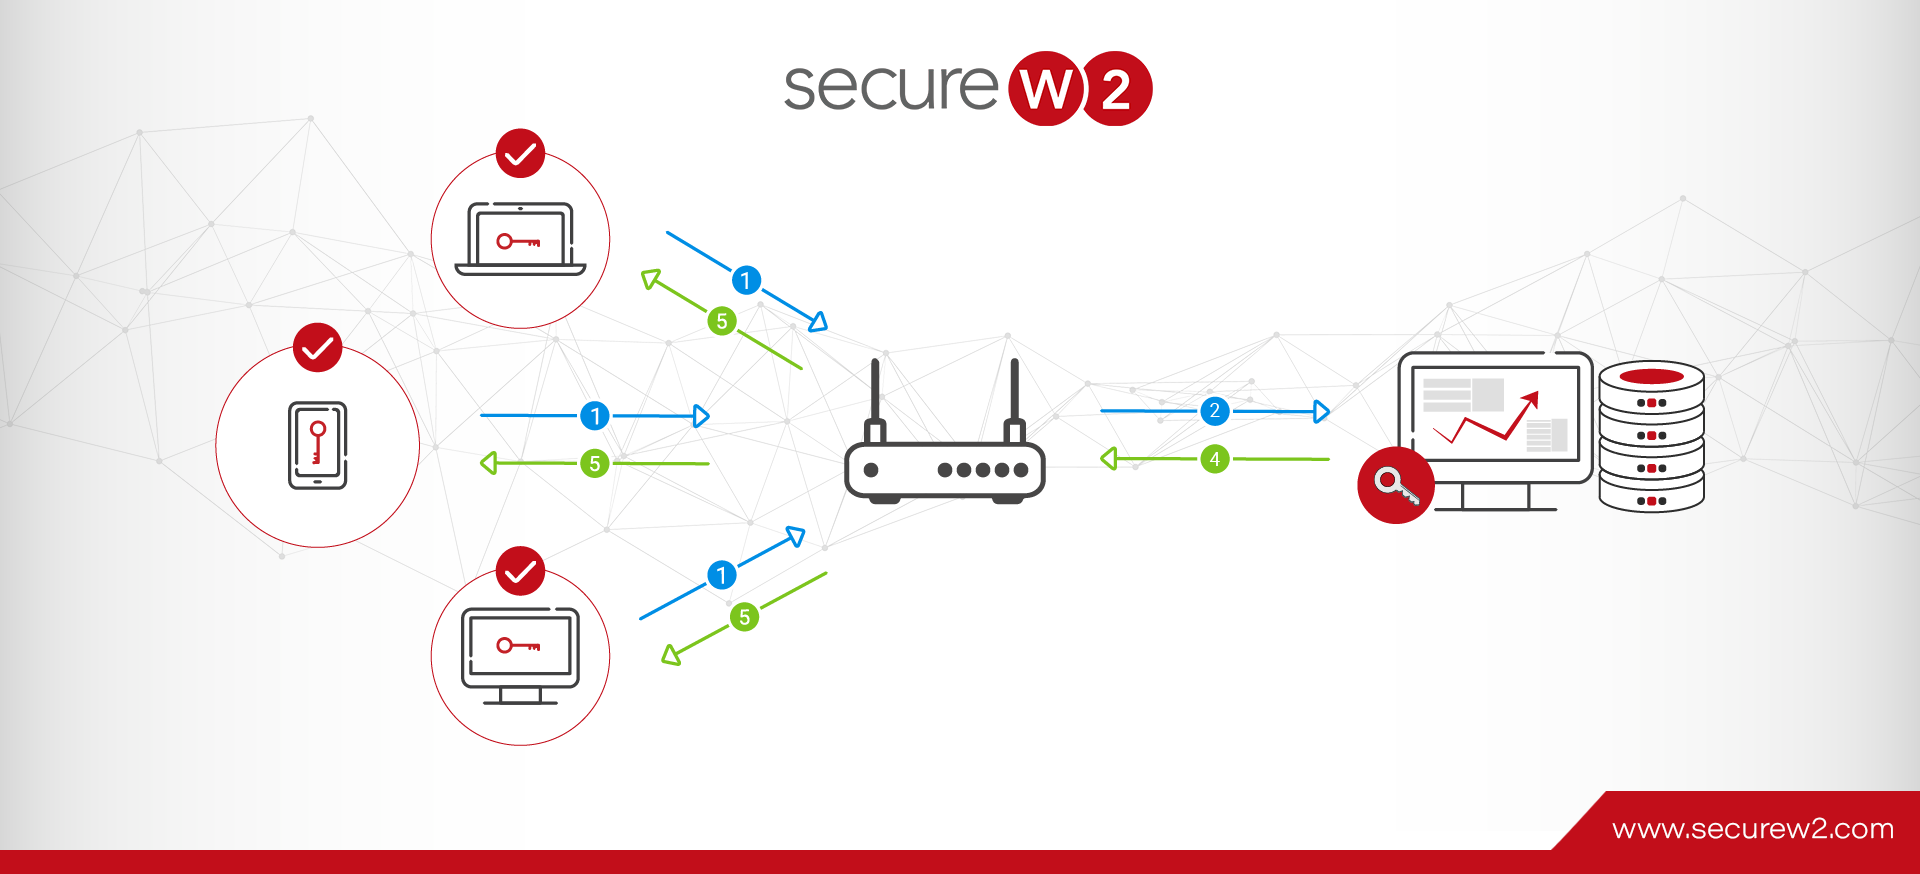
RADIUS servers on Windows are typically implemented through NPS. While it exists to create and enforce network access policies on any level, NPS is often used as a RADIUS itself or a proxy to forward requests to a third party RADIUS.
NPS is something of a workaround solution. It allows you to authenticate clients through a wide variety of access points:
- 802.1x switches
- Wi-Fi
- VPN
- Dial-up
- Router-to-router
… Assuming you want to authenticate using a Active Directory (AD), of course. While the integration between NPS and AD is more or less flawless, it’s an old technology that’s becoming more obsolete by the day, as Microsoft doesn’t offer cloud solutions for WPA2-Enterprise.
Shortcomings of Windows RADIUS Servers (NPS)
NPS is Vendor-Locked
The native Windows RADIUS server solution is only compatible with Active Directory through the LDAP protocol. There are third party solutions to overcoming the limitation, of course, but that necessarily complicates your network authentication system.
NPS Doesn’t Support Cloud
NPS is very useful in an on-premise situation when paired with Active Directory because that’s the use case it was designed for. It was made long before cloud servers were feasible and it still clings to that legacy.
There is no native ability to connect NPS with cloud directories. In fact, it doesn’t even work with Microsoft’s own cloud platform: Azure. There are, however, third-party solutions that allow you to use your Active Directory with a cloud RADIUS server, like Cloud RADIUS. .
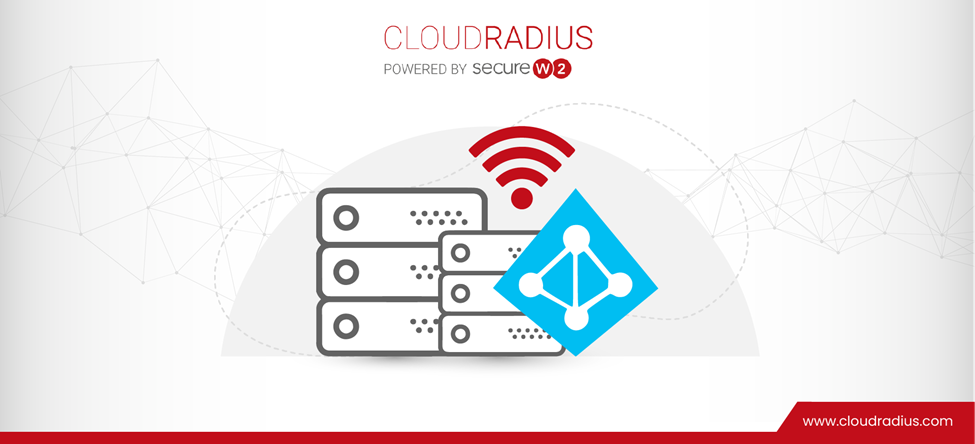
Cloud RADIUS for Windows
Microsoft’s Azure is one solution to modernizing your network authentication, but it requires a total tear-down and rebuild of your infrastructure.
The future is in the cloud, so your RADIUS should be too.
That’s an enormous cost, both in terms of time and money. In order to successfully transition without any network downtime, while maintaining a tight security perimeter, and also re-enrolling every user and device is a gargantuan task.
For most organizations, that’s just not feasible. Fortunately, CloudRADIUS is a turnkey solution that allows you to bridge the gap between on-prem and cloud without the forklift upgrades described above. Our RADIUS and Managed PKI Services (powered by SecureW2) integrate seamlessly with every major vendor. We’ve worked with countless organizations to migrate to an all-cloud environment using Azure with Cloud RADIUS.
How to Set Up Windows RADIUS (NPS)
The following walkthrough is for Windows Server 2016, one of the more common installations. The steps are very similar for Windows Server 2019, however.
1. Set up a Security Group
In the Active Directory domain, create a security group. Add all of the users that will authenticate through your new RADIUS.
2. Add Network Policy and Access Services Role
The Server Manager console contains the Add Roles and Features wizard. That wizard handles installation and configuration of all of the optional Windows Server features, including NPS. Choose Network Policy and Access Services from the list.
3. Snap-In NPS to AD
From the Tools tab of Windows Server, find the Network Policy Server option and click it. In the NPS snap-in menu, find the root labeled “NPS (Local)” and right-click on it. Choose “Register server in Active Directory”.
Select OK in the confirmation dialogue box that pops up.
4. Add RADIUS Client to NPS
In your NPS console tree should be a RADIUS Clients and Servers folder. Open it, find the RADIUS Clients entry, then right click it. Choose “New” from the dropdown list.
Fill out each field. “Friendly Name” is a your client nickname, “Address” can be the IP or DNS name, and “Shared Secret” should have been determined when you configured the access point.
Note that shared secrets are a weak form of authentication security. Digital certificates offer the best security. Certificates are similarly easy to authorize. Add your access point certificate to the personal certification store on the Local Machine, then request and import the .p12 certificate to the NPS server.
SecureW2 allows you to easily generate a custom private CA and export the .p12 to then import into NPS. Or, you can import your AD CS certificates and use SecureW2 to enroll end user devices to self-service themselves for client certificates for your AD CS Certificate Authority.
If using a major access point vendor, such as Aruba or Cisco, navigate to the advanced tab and select the vendor from the “Vendor name” list.
Your Windows Server RADIUS is now ready to go! Users will need to be manually added and removed from the security group unless you use an onboarding solution like the one offered by SecureW2. Click here to check out our world-class automatic enrollment suite JoinNow.