Deploying a RADIUS server can improve your network by providing strong security measures. When configured correctly, a RADIUS server can allow you to authenticate any verified user and equip you with a strong defense against potential threats. Using a RADIUS server with a VPN can allow you to dynamically grant VPN access to users in your directory and keep those without permission out. Cloud RADIUS makes connecting to a VPN server quick and efficient by integrating with your Identity Provider (IDP)/ Directory and easily authenticating your users for a secure connection.
This guide will tell you how to easily set up Cloud RADIUS with Azure VPN Gateway to authenticate users for certificate-based VPN access.
We will accomplish this by using SecureW2 (Cloud RADIUS’ parent company) onboarding software that syncs with your IDP so users can verify their identities to self-configure themselves for a secure connection in seconds.
This guide will cover everything you need to know to set up Cloud RADIUS with Azure VPN Gateway.
Configure SAML Azure Application with SecureW2
- From your Microsoft Azure Portal, use the search feature to go to Enterprise applications.
- In the main pane, click New application.
- In the Add an application pane, under Add from the gallery, enter ‘SecureW2‘ in the search field.
- If the SecureW2 JoinNow Connector application appears:
- Select it.
- In the Add your own application pane, click Add.
- If the SecureW2 JoinNow Connector application does not appear:
- Click Non-gallery application.
- In the Add your own application pane, for Name, enter a name.
- Click Add.
Create an Identity Provider in SecureW2
- From your SecureW2 Management Portal, go to Identity Management > Identity Providers.
- Click Add Identity Provider.
- For Name, enter a name.
- For Description, enter a description.
- Click the Type dropdown and select SAML.
- Click the Saml Vendor dropdown and select Azure.
- Click Save.
Configure Single Sign-On in Azure
- From your Microsoft Azure Portal, click Configure single sign-on (required).
- Click the Single Sign-on Mode dropdown and select SAML-based Sign-on.
- In a new browser tab/window, log into your SecureW2 Management Portal and go to Identity Management > Identity Providers.
- Click Edit for the IDP you created in the previous section.
- Select the Configuration tab.
- Copy and paste as follows:
- From SecureW2, copy the information for EntityId and ACS URL, and
- Paste respectively into Azure for Identifier and Reply URL.
- In the SAML Signing Certificate section, in the DOWNLOAD column, click Metadata XML. Save the metadata file (.xml) to your computer.
- Click Save.
Configure the IDP with Azure Metadata
- From your SecureW2 Management Portal, go to Identity Management > Identity Providers.
- Click Edit for the IDP you created in the section “Create an Identity Provider in SecureW2”.
- Select the Configuration tab.
- Under Identity Provider (IDP) Info, for Metadata, click Choose File.
- In the window that appears, select the metadata file (.xml) you saved to your computer in the previous section.
- Click Upload.
- Click Update.
Integrate Active Directory with Azure SAML Application
- From your Microsoft Azure Portal, go to the JoinNow Connector Application, or the SAML application you created in the section “Create a SAML Application in Azure”.
- Go to Manage > Users and groups.
- Click Add User.
- In the Users and groups pane, use the Select field to search for the user by name or email.
- Select the user, and then click Select.
- In the Add Assignment pane, click Assign.
Grant SAML Application Access to Active Directory
- From your Microsoft Azure Portal, use the search feature to go to App registrations.
- Next to the search field, click the dropdown and select All apps. This displays a list of all available applications.
- Click your application.
- In the pane that appears for your application, click Settings.
- In the Settings pane, click Required permissions.
- In the Required permissions pane, click Add.
- In the Add API access pane, click 1 Select an API.
- In the Select an API pane, select Windows Azure Active Directory.
- Click Select.
- In the Add API access pane, click 2 Select permissions.
- In the Enable Access pane, select:
- Read directory data
- Read all groups
- Read all users’ full profiles
- Click Select.
- In the Add API access pane, click Done.
- In the pane for your application, click Settings.
- Click Manifest > Edit.
- In the Edit manifest pane, in the source code:
- For the ‘groupMembershipClaims‘ variable, change the value to ‘All‘.
- Click Save.
Create a VPN Gateway
Once you have everything configured, you can move forward to setting up the Azure VPN with your Cloud RADIUS server by following the proceeding steps:
- Configure and create the VPN gateway for your VNet.
- The -GatewayType must be ’Vpn’ and the -VpnType must be ’RouteBased’.
- A VPN gateway can take up to 45 minutes to complete, depending on the gateway SKU you select.
Retrieve your Cloud RADIUS IP, Port, and Shared Secret
Retrieving your RADIUS information from SecureW2 is simple. Follow these steps to move forward with setting up your VPN:
- Log on to your SecureW2 management portal.
- On the left navigation bar find AAA Management.
Now you should have access to your RADIUS’ Primary and Secondary IP, Port number, and shared secret.
Add the Cloud RADIUS Server and Client Address Pool
- The RadiusSecret should match what is shown on Cloud RADIUS
- The VpnClientAddressPool is the range from which the connecting VPN clients receive an IP address. Use a private IP address range that does not overlap with the on-premise location that you will connect from, or with the VNet that you want to connect to. Ensure that you have a large enough address pool configured.
- You are prompted to enter the RADIUS secret. The characters that you enter will not be displayed and instead will be replaced by the “*” character.
- Add the VPN client address pool and the RADIUS server information.
Download the VPN Client Configuration Package and Set Up the VPN Client
The VPN client configuration lets devices connect to a VNet over a P2S connection. To generate a VPN client configuration package and set up the VPN client, see Create a VPN Client Configuration for RADIUS authentication.
Connect to Azure
- To connect to your VNet, navigate to VPN connections on the client computer and locate the VPN connection that you created. It is named the same name as your virtual network. Enter your domain credentials and click ’Connect’. A pop-up message requesting elevated rights appears. Accept it and enter the credentials.
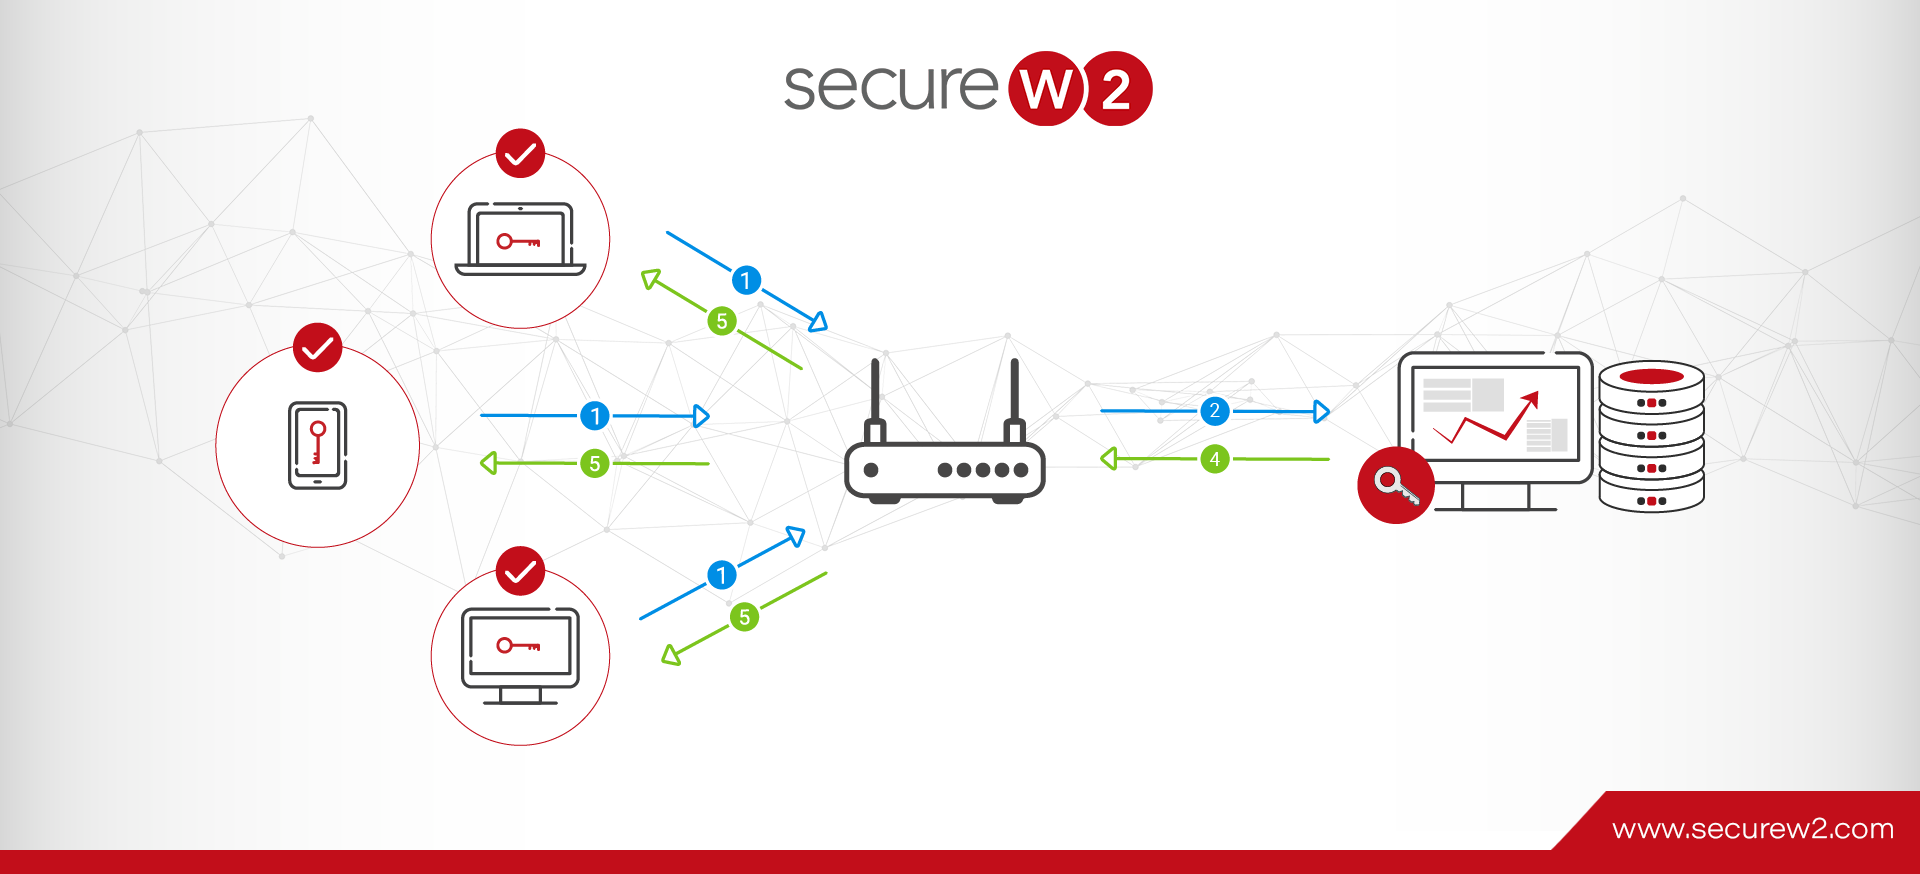
Dynamic RADIUS with Azure
During a typical RADIUS authentication event, the RADIUS communicates with the CRL to make sure that users that are not approved to access the network are denied entry. However, due to human error, if the IT staff forget to revoke a certificate there can be a slight window of opportunity for that unapproved and revoked user to have access to your network.
Cloud RADIUS with SecureW2 fixes that issue by allowing the RADIUS to communicate securely with cloud-based Identity Providers, in addition to checking the Certificate Revocation List (CRL), to make sure that only approved users are allowed access to your network.
In addition to the security benefits, it enables policy enforcement at the moment of authentication. So if a user gets a promotion, and requires a different level of network security, they will automatically have it applied by the RADIUS server the instant they are updated in the directory. Curious about our Dynamic Cloud RADIUS? Contact us here to learn more.
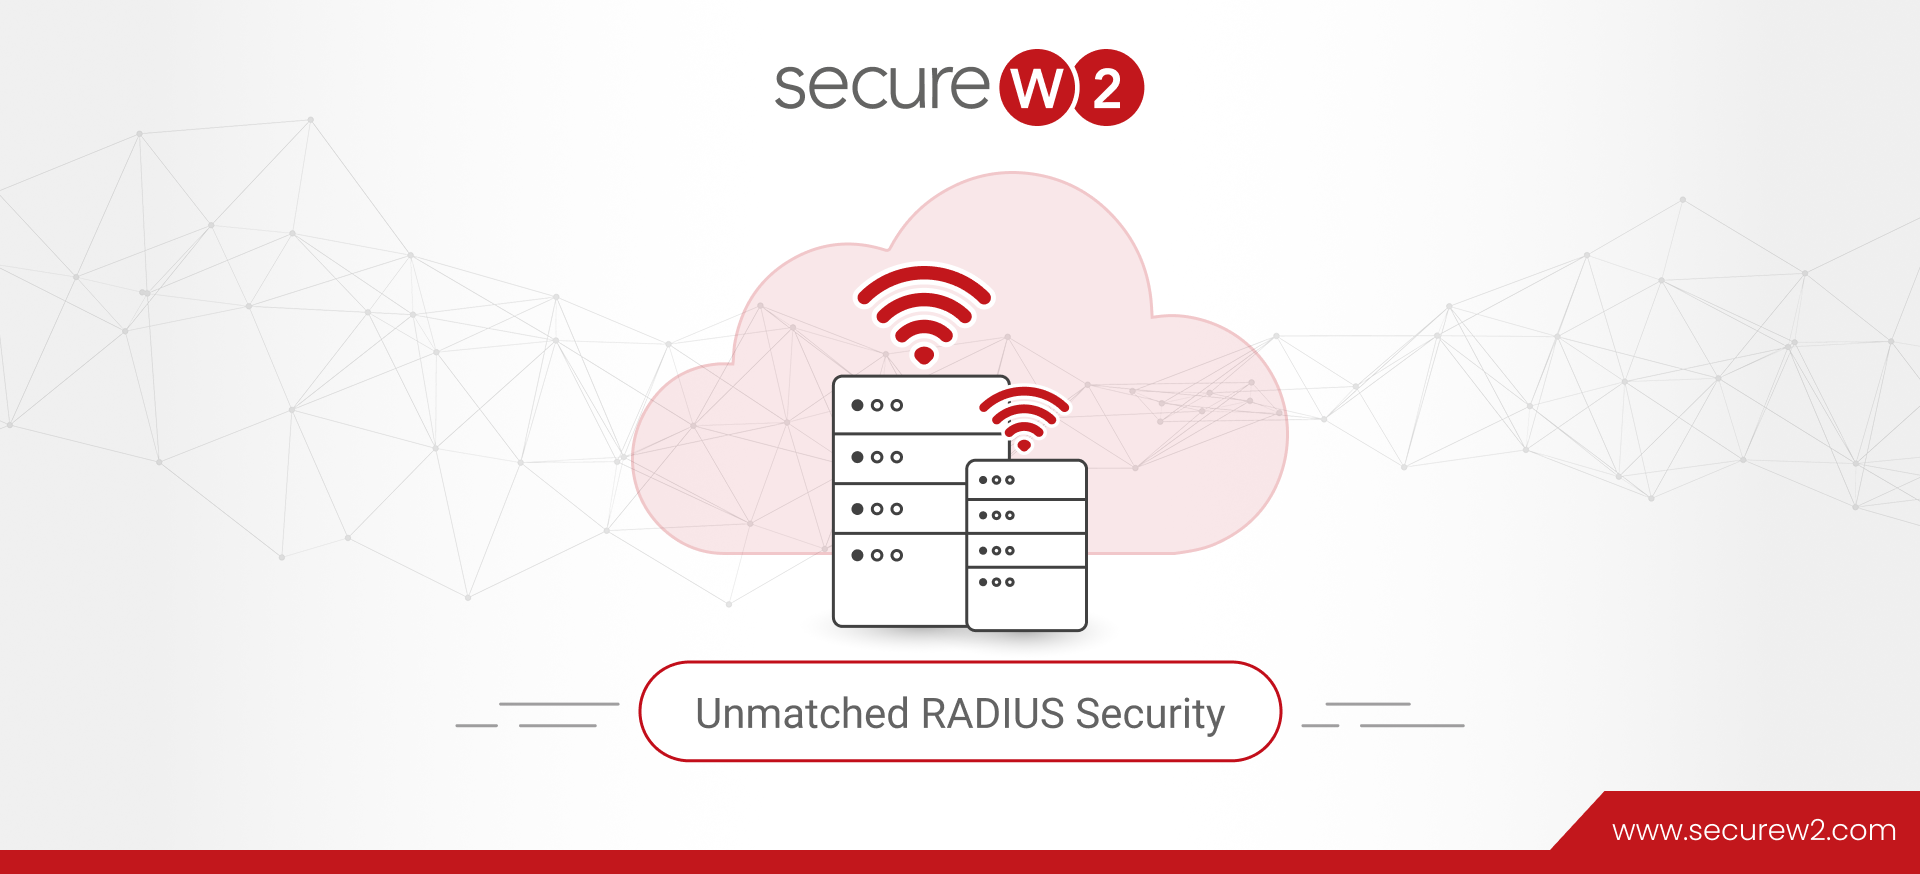
Cloud RADIUS with Azure
Cloud RADIUS conveniently comes with SecureW2’s onboarding software that allows for a simple way to establish a secure connection and authentication for your network through a VPN. Setting up a VPN is a task in and of itself; Cloud RADIUS makes the process of authenticating approved users for a VPN connection simple and saves your IT admin time and headaches from having to manually set up your RADIUS server. You can find out about our pricing here and start getting your devices enrolled and protected in just a few hours.